How to install WordPress with XAMPP
Set up a local WordPress site on XAMPP by creating a MariaDB database, downloading WordPress, and configuring wp-config.php on Windows.
Install WordPress on a local XAMPP server to develop and test themes, plugins, and site configurations without a live hosting environment.
Prerequisites
- XAMPP installed on Windows. See How to install XAMPP on Windows.
- Apache HTTP Server and MariaDB (MySQL) running from the XAMPP Control Panel.
- A web browser to access
http://localhostand phpMyAdmin.
Step-by-Step: Install WordPress on XAMPP
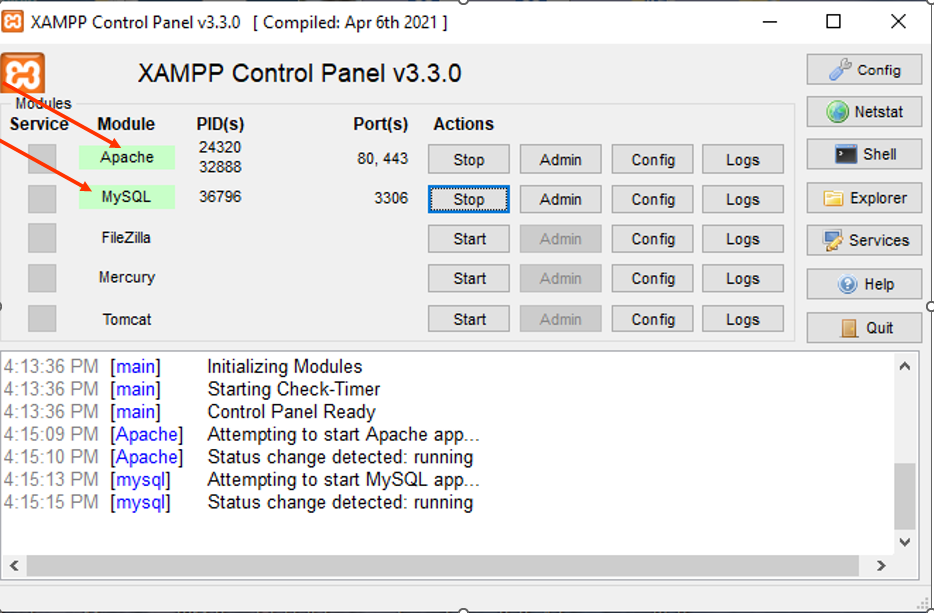
Start Apache HTTP Server and MariaDB from the XAMPP Control Panel. Click the Startbutton next to both Apache and MySQL. Both services display green status indicators when running.
Verify XAMPP is running. Open a web browser and navigate to
http://localhost. The XAMPP dashboard page confirms that Apache HTTP Server is serving files correctly.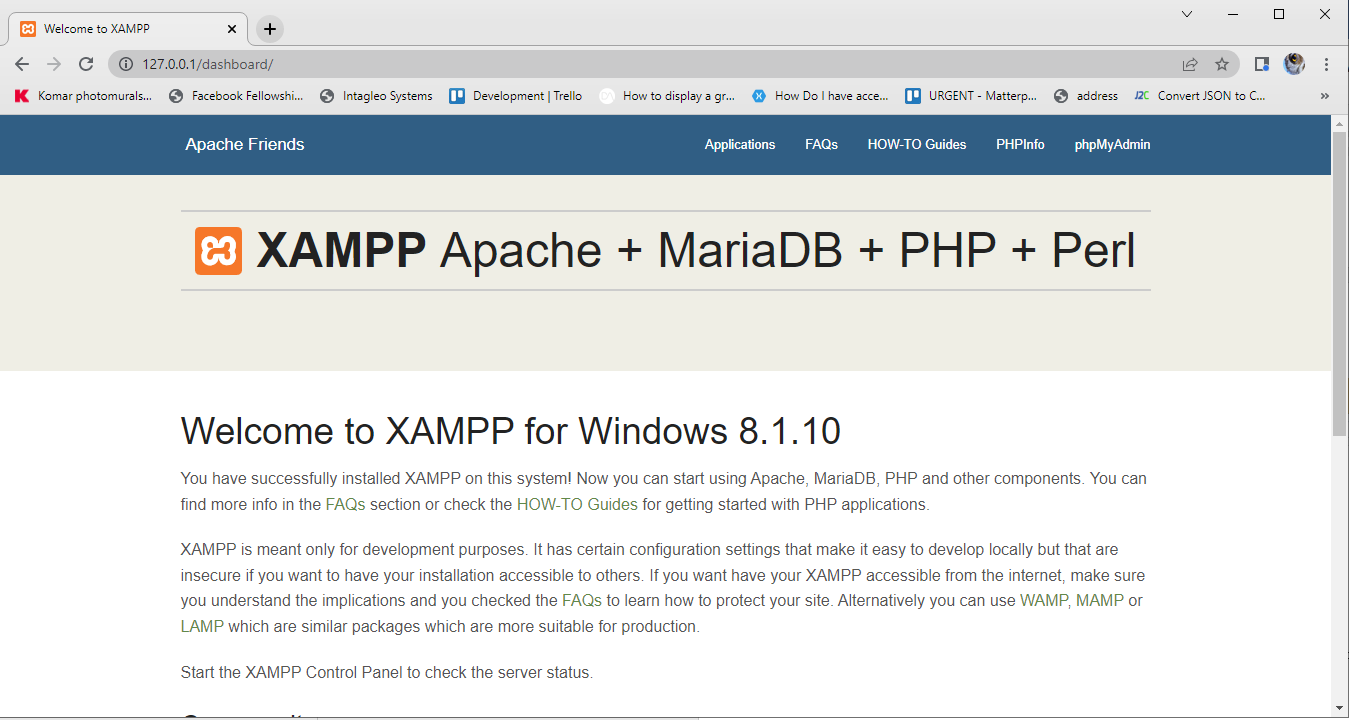
Create a database for WordPress. Open phpMyAdmin at
http://localhost/phpmyadmin/. Click the Databasestab. Enter a database name (for example,wordpress_db). Selectutf8mb4_general_cias the collation. Click Create.Create a project folder in the XAMPP
htdocsdirectory. Navigate to the XAMPP installation folder (default:C:\xampp\htdocs) and create a new folder for the WordPress site (for example,demo).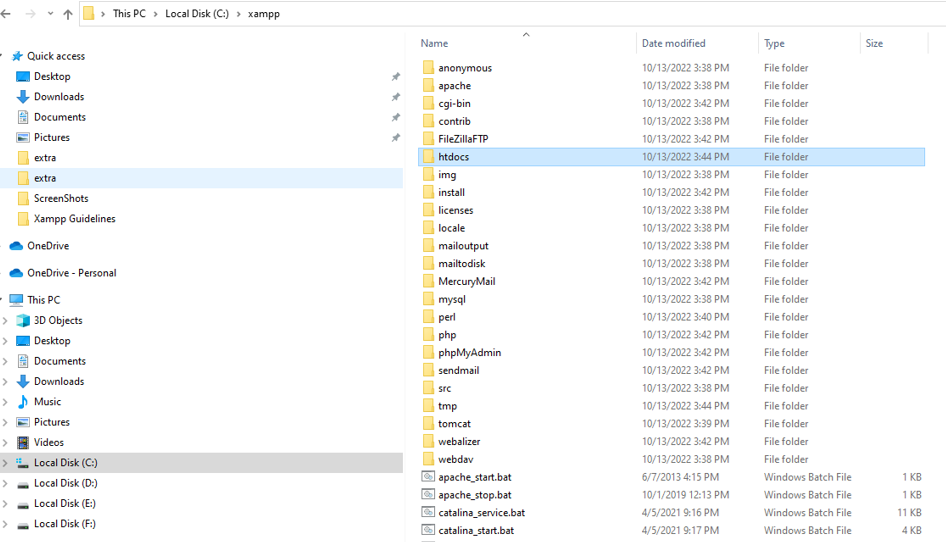
Download WordPress from the official WordPress website. Extract the ZIP file contents into the project folder created in the previous step (for example,
C:\xampp\htdocs\demo).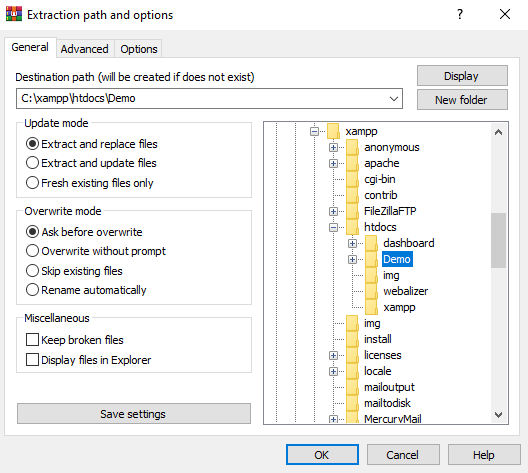
Verify the folder structure. The project folder should contain WordPress core files such as
wp-admin,wp-content,wp-includes, andwp-config-sample.php.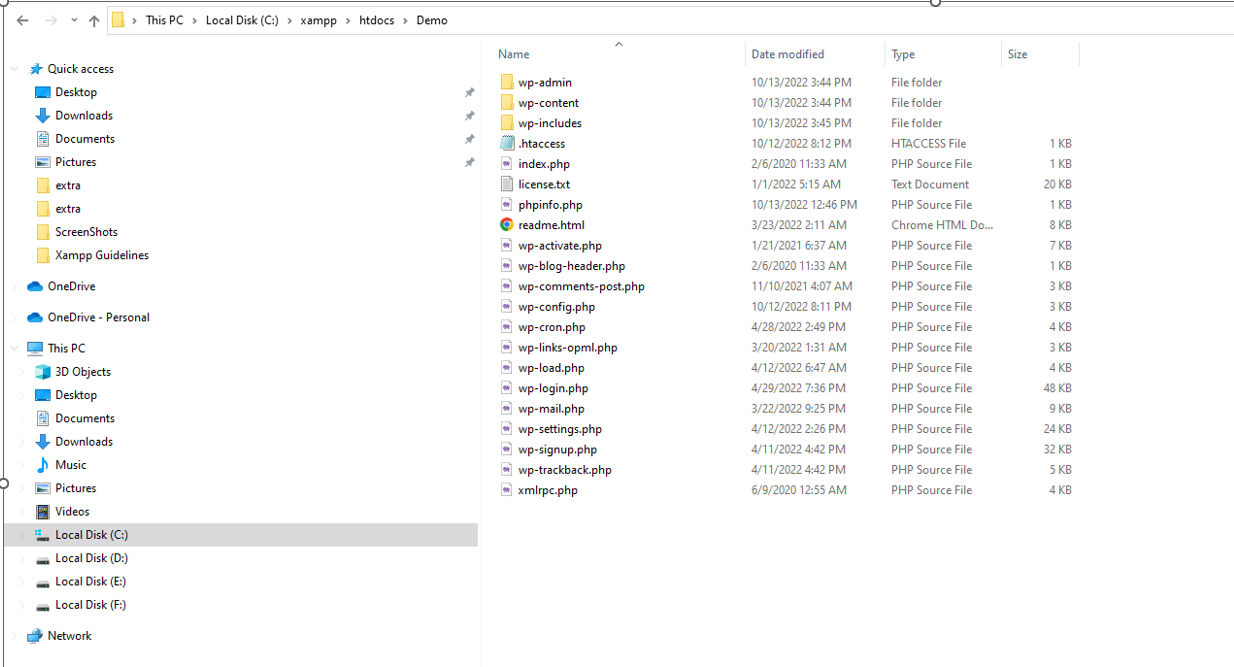
Open the WordPress setup wizard. Navigate to
http://localhost/demoin the web browser. WordPress displays the language selection and database configuration screens.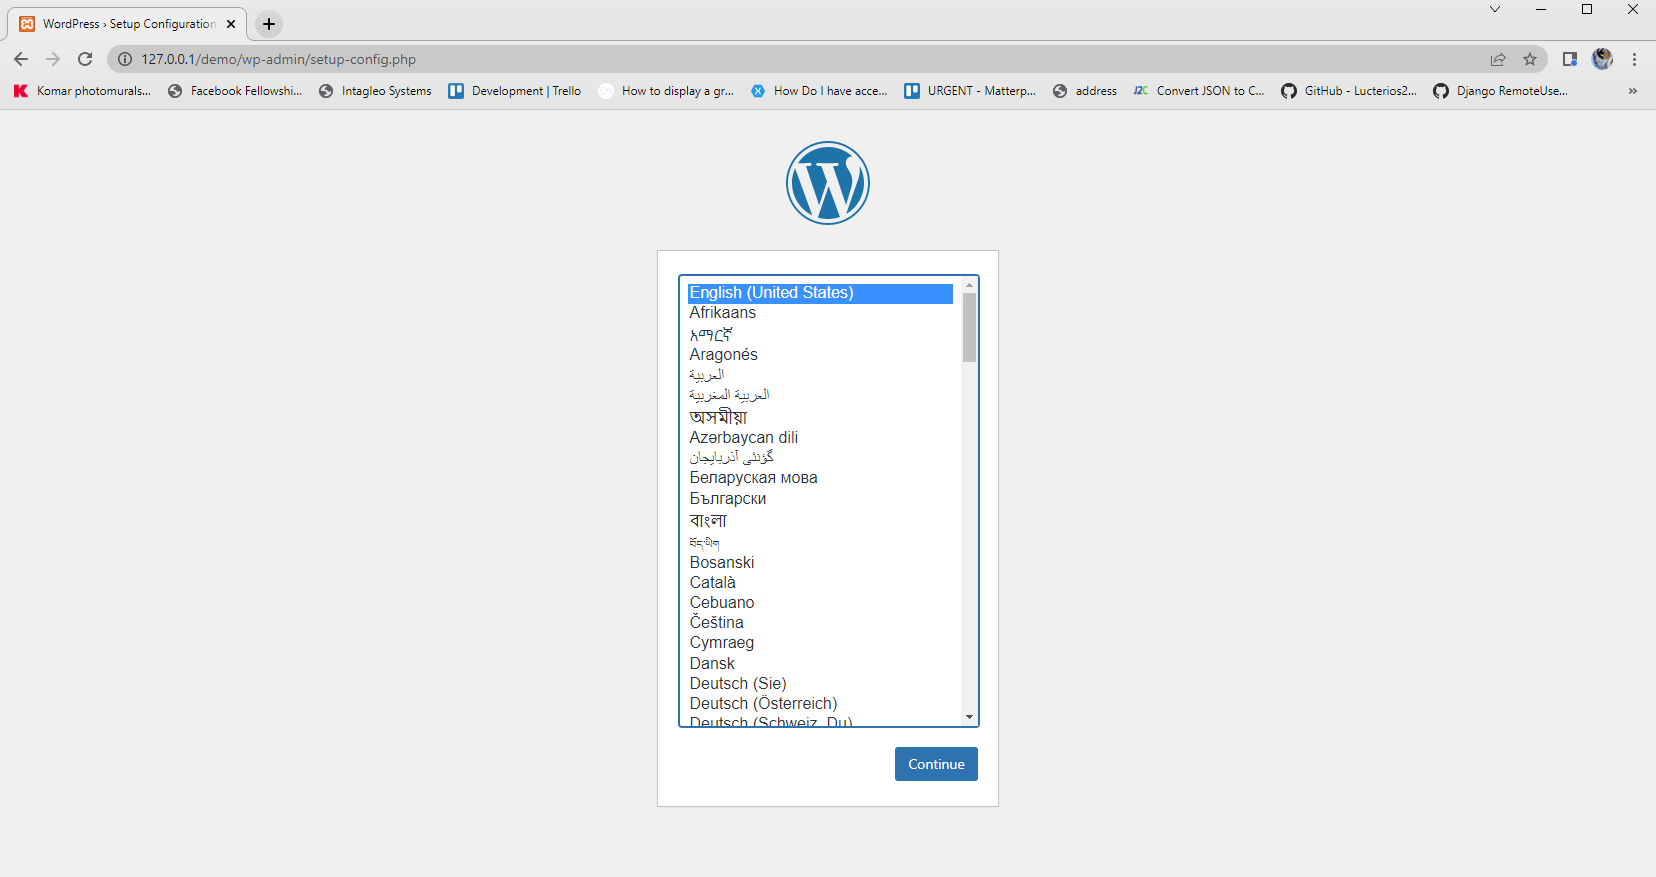
Configure the WordPress database connection. Rename
wp-config-sample.phptowp-config.phpinside the project folder. Openwp-config.phpin a text editor and set the database name, username, and password:define( 'DB_NAME', 'wordpress_db' ); define( 'DB_USER', 'root' ); define( 'DB_PASSWORD', '' ); define( 'DB_HOST', 'localhost' );XAMPP ships with a default MariaDB root user that has no password. The
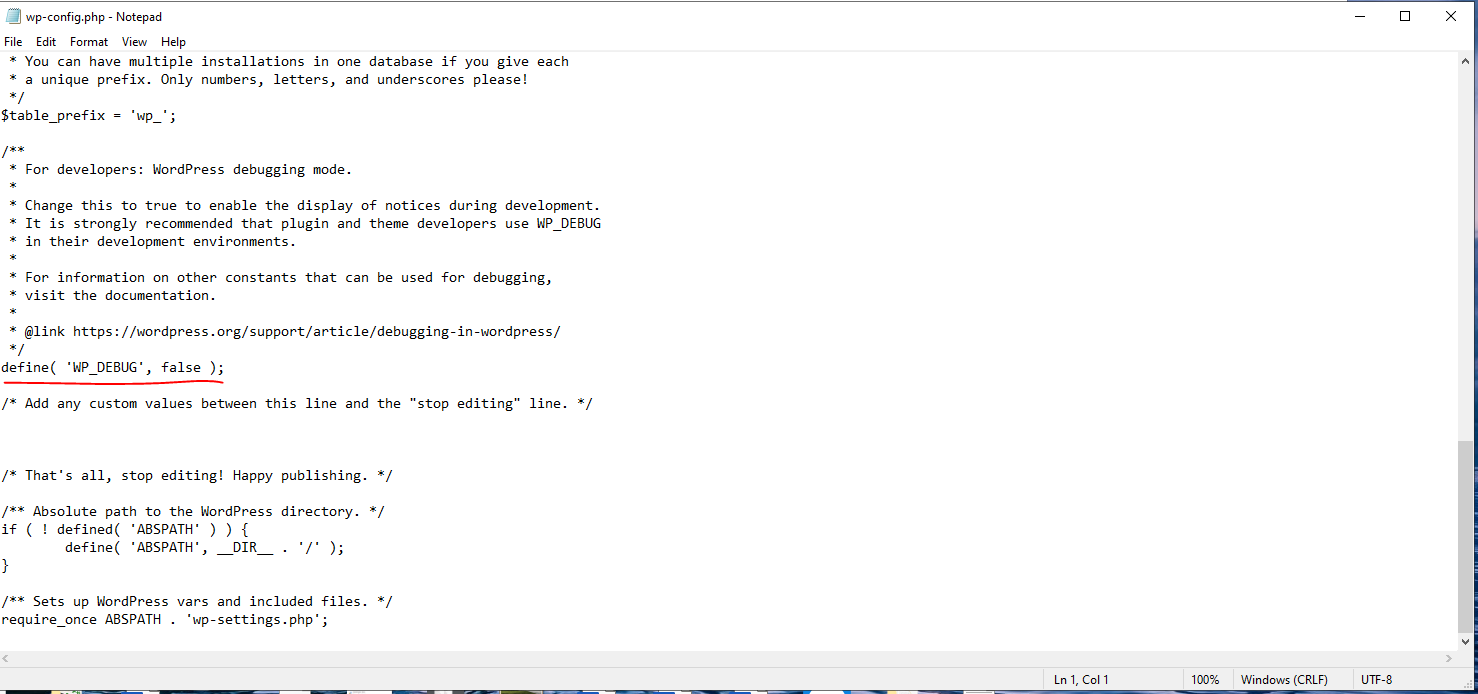
DB_HOSTvalue islocalhostbecause MariaDB runs on the same machine.Enable WordPress debug mode for local development. Open
wp-config.phpand change theWP_DEBUGconstant totrue:define( 'WP_DEBUG', true );WordPress debug mode displays PHP errors, warnings, and notices directly on the page. This setting helps identify issues during theme and plugin development.
Complete the WordPress installation. Navigate to
http://localhost/demoin the web browser. Follow the on-screen wizard to set the site title, admin username, password, and email address.
How to Verify WordPress Installed Correctly on XAMPP
Open
http://localhost/demo in a web browser. The WordPress homepage loads with the default theme. Log in to the WordPress admin dashboard at
http://localhost/demo/wp-admin/ using the credentials created during setup.
Common Issues When Installing WordPress on XAMPP
"Error establishing a database connection."WordPress cannot connect to MariaDB. Verify that the
DB_NAME,
DB_USER,
DB_PASSWORD, and
DB_HOST values in
wp-config.php match the database created in phpMyAdmin. Confirm that MariaDB is running in the XAMPP Control Panel.
White screen or PHP errors.Set
WP_DEBUG to
true in
wp-config.php to display error messages. Common causes include missing PHP extensions or incorrect file permissions on the WordPress directory.
phpMyAdmin not loading.Confirm that both Apache HTTP Server and MariaDB are running in the XAMPP Control Panel. Navigate to
http://localhost/phpmyadmin/ to verify access.