How to set up Apache virtual hosts in XAMPP
Configure Apache HTTP Server virtual hosts in XAMPP on Windows to serve multiple local websites with custom domain names from a single installation.
Configure Apache HTTP Server virtual hosts in XAMPP on Windows to assign custom domain names to local projects instead of using
http://localhost/subfolderpaths.
Prerequisites
- XAMPP installed on Windows with Apache HTTP Server running. See How to install XAMPP on Windows.
- Administrator privileges to edit the Windows
hostsfile. - A text editor (Notepad, VS Code, or Notepad++).
Step-by-Step: Set Up Apache Virtual Hosts in XAMPP
Open the XAMPP Apache virtual hosts configuration file. Navigate to the XAMPP installation directory and open
apache\conf\extra\httpd-vhosts.conf. The default path on Windows isC:\xampp\apache\conf\extra\httpd-vhosts.conf.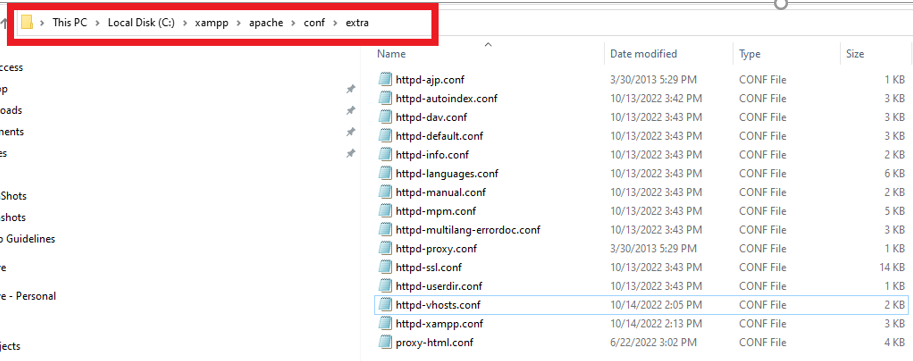
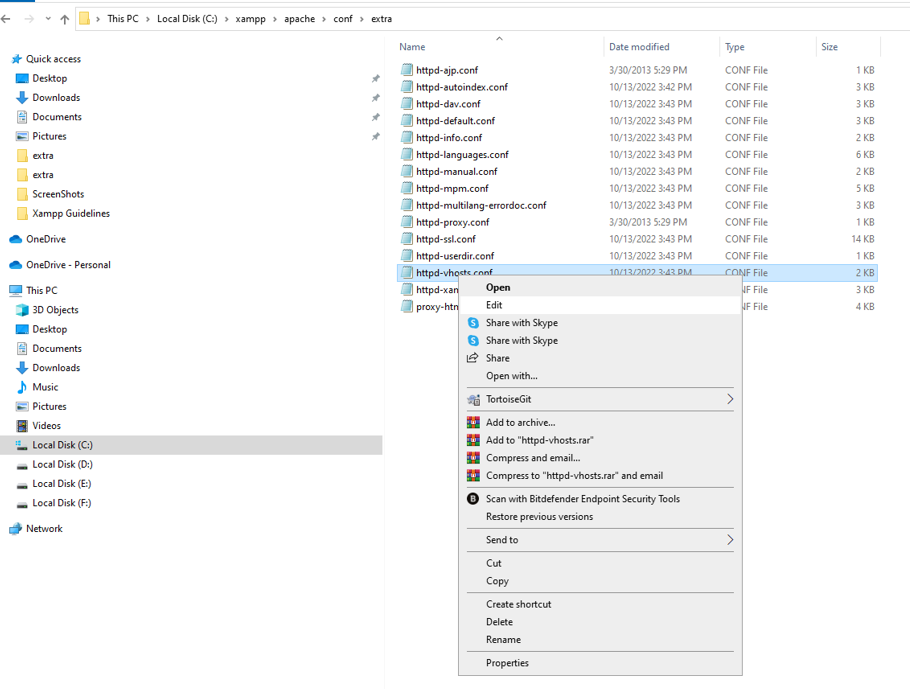
Open
httpd-vhosts.confin a text editor. The file contains example virtual host blocks that are commented out by default.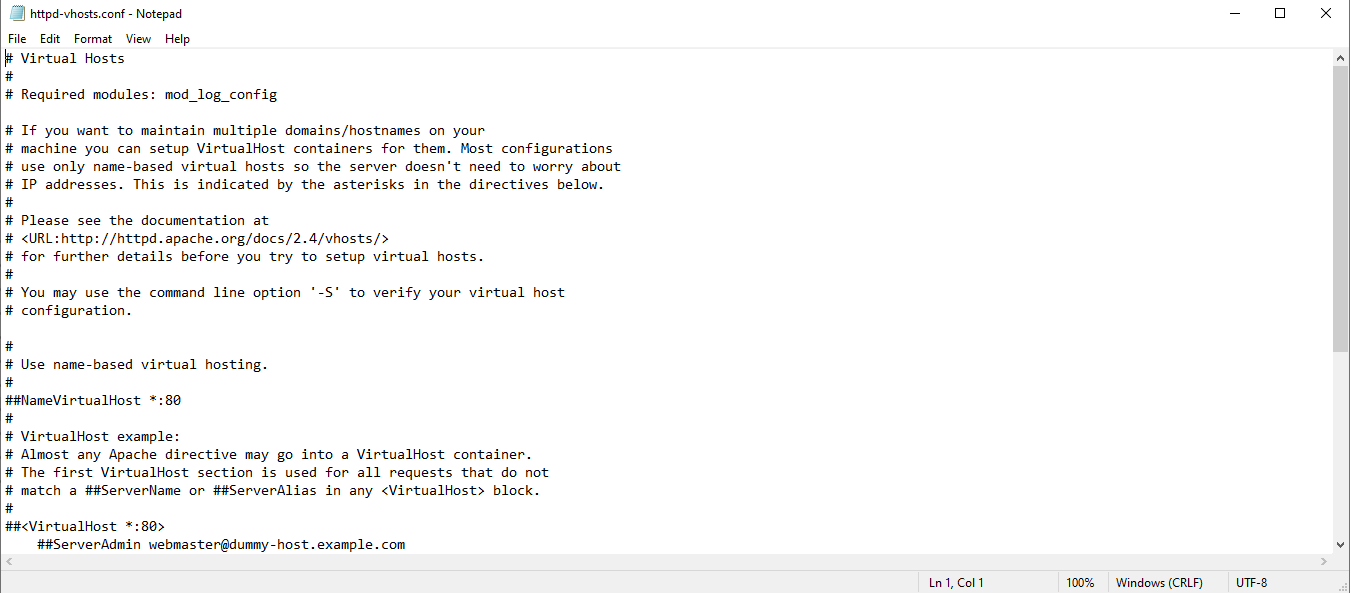
Add a virtual host block for
localhostto preserve default XAMPP behavior. Append the following configuration to the end ofhttpd-vhosts.conf:<VirtualHost *:80> DocumentRoot "C:/xampp/htdocs" ServerName localhost </VirtualHost>This block ensures that
http://localhostcontinues to serve files from the defaulthtdocsdirectory after virtual hosts are enabled.Add a virtual host block for the custom local domain. Append a second
<VirtualHost>block below thelocalhostblock:<VirtualHost *:80> DocumentRoot "C:/xampp/htdocs/demo" ServerName demo.local <Directory "C:/xampp/htdocs/demo"> AllowOverride All Require all granted </Directory> </VirtualHost>The
DocumentRootdirective points Apache HTTP Server to the project folder. TheServerNamedirective defines the custom domain. TheAllowOverride Alldirective enables.htaccessfiles for URL rewriting. TheRequire all granteddirective allows access to the directory.Map the custom domain to the local IP address. Open the Windows
hostsfile atC:\Windows\System32\drivers\etc\hostswith a text editor running as Administrator.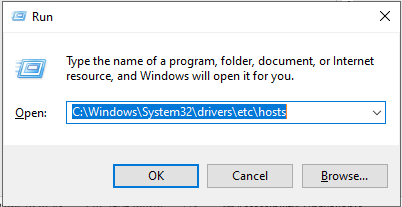
Add a line that maps the custom domain to
127.0.0.1:127.0.0.1 demo.local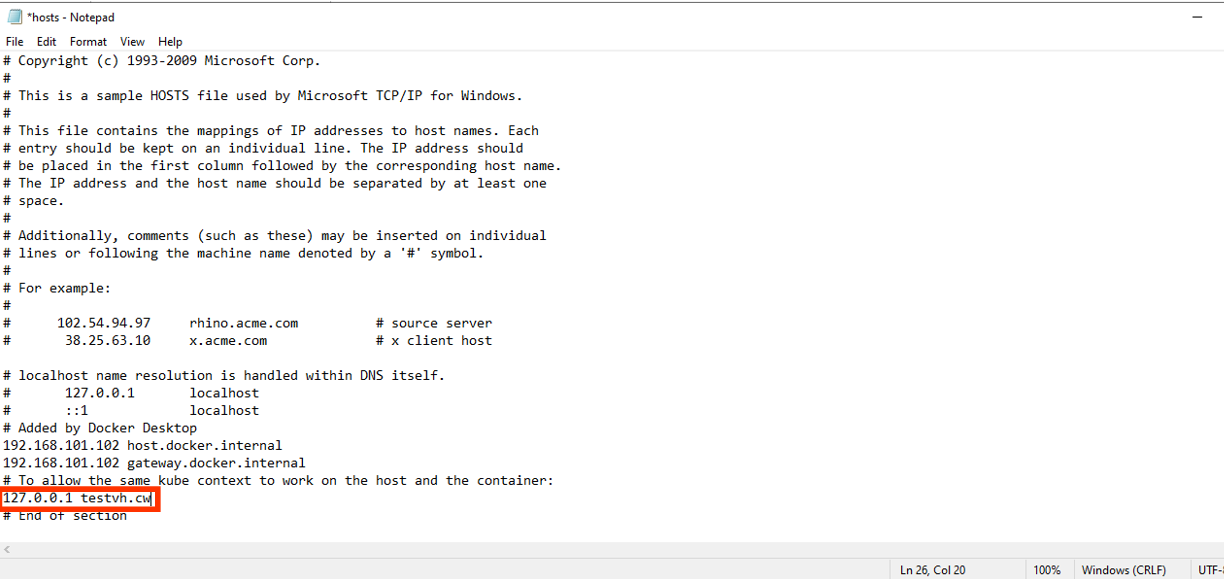
The Windows
hostsfile overrides DNS resolution for the specified domain. The entry directsdemo.localto the local machine where XAMPP Apache HTTP Server is running.Restart Apache HTTP Server from the XAMPP Control Panel. Click Stopnext to Apache, then click Startagain. Apache reloads the updated
httpd-vhosts.confconfiguration.
How to Verify the Virtual Host in XAMPP
Open a web browser and navigate to
http://demo.local. Apache HTTP Server serves files from the
C:\xampp\htdocs\demo directory. The browser displays the project's
index.html or
index.php file.
Common Issues When Setting Up Virtual Hosts in XAMPP
"Access forbidden" or 403 error.The
<Directory> block in
httpd-vhosts.conf is missing the
Require all granted directive. Add the directive inside the
<Directory> block and restart Apache HTTP Server.
Custom domain does not resolve.The Windows
hosts file entry is missing or incorrect. Verify that
127.0.0.1 demo.local exists in
C:\Windows\System32\drivers\etc\hosts. The
hosts file requires Administrator privileges to save changes.
Original
http://localhost stops working.A
<VirtualHost> block for
localhost is missing. Apache HTTP Server uses the first virtual host block as the default when no
ServerName matches. Add a
localhost virtual host block before the custom domain block.
How to Set Up Virtual Hosts for WordPress on XAMPP
WordPress stores the site URL in the database. After configuring a virtual host for a WordPress site, update the site URL in the database to match the new domain.
Open phpMyAdmin at
http://localhost/phpmyadmin/.Select the WordPress database. Open the
wp_optionstable.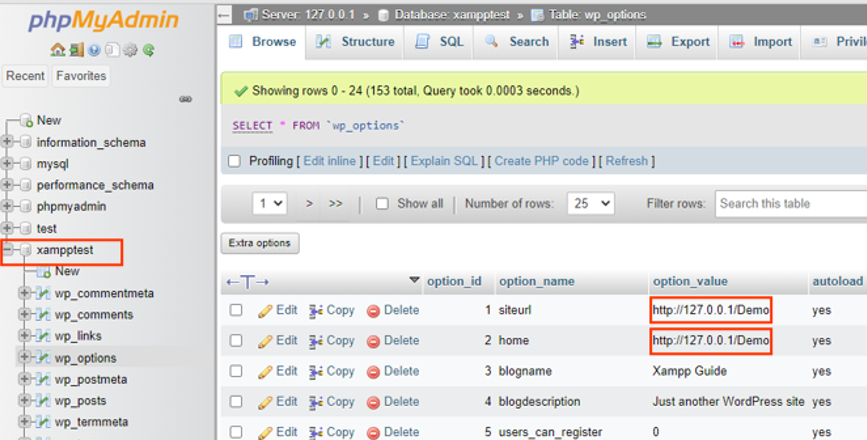
Edit the
siteurloption. Change the value fromhttp://localhost/demotohttp://demo.local.Edit the
homeoption. Change the value fromhttp://localhost/demotohttp://demo.local.Restart Apache HTTP Server from the XAMPP Control Panel. Navigate to
http://demo.localin the web browser.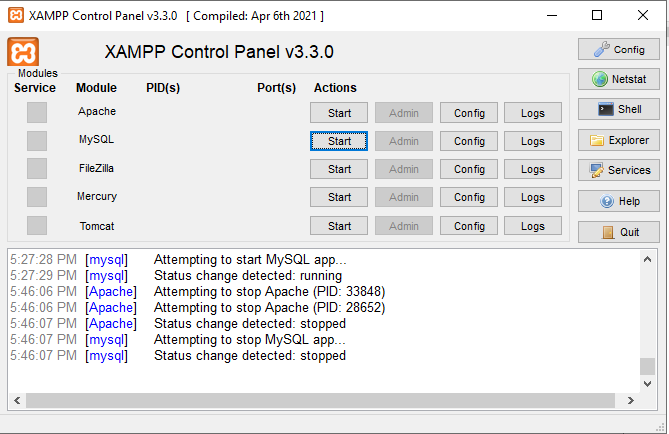
WordPress loads at the custom domain. The site functions identically to the
localhostversion.