phpMyAdmin tutorial: install and configure
Install phpMyAdmin on XAMPP (Windows), Docker, or Ubuntu/Debian Linux, then configure authentication, security settings, and MySQL connectivity.
- What You Will Need
- Step 1: Choose an Installation Method for phpMyAdmin
- Step 2: Install phpMyAdmin with XAMPP on Windows
- Download and Run the XAMPP Installer
- Select Components and Installation Directory
- Start Apache and MySQL Services
- Open phpMyAdmin in the Browser
- Secure the XAMPP phpMyAdmin Installation
- Step 3: Install phpMyAdmin with Docker
- Pull and Run the phpMyAdmin Docker Container
- Run phpMyAdmin and MySQL Together with Docker Compose
- Manage phpMyAdmin Docker Containers
- Step 4: Install phpMyAdmin on Ubuntu/Debian Linux
- Install Apache, MySQL, and PHP Prerequisites
- Secure the MySQL Installation
- Install phpMyAdmin from the Package Manager
- Open phpMyAdmin on the Linux Server
- Secure the Linux phpMyAdmin Installation
- What You Learned
- What to Do Next
This tutorial walks through installing phpMyAdmin on three platforms: XAMPP on Windows, Docker containers, and Ubuntu/Debian Linux. By the end, you will have a running phpMyAdmin instance connected to a MySQL or MariaDB server with basic security settings applied.
What You Will Need
- A computer running Windows 10/11, macOS, or Ubuntu/Debian Linux.
- Administrative or sudo access on the target system.
- A web browser (Chrome, Firefox, or Safari).
- For Docker installation: Docker Engine 20.10+ installed ( Docker installation guide).
- For Linux installation: A server or virtual machine with SSH access.
Step 1: Choose an Installation Method for phpMyAdmin
phpMyAdmin requires three components to run: a web server (Apache HTTP Server or Nginx), PHP with the
mysqli extension, and a MySQL or MariaDB database server. Each installation method bundles or manages these dependencies differently.
XAMPPpackages Apache, MySQL, PHP, and phpMyAdmin into a single installer. XAMPP suits local development on Windows and macOS because it requires no manual configuration of individual components.
Dockerruns phpMyAdmin and MySQL as isolated containers with their own networking. Docker suits environments where installing PHP and Apache on the host machine is undesirable or where multiple isolated database environments are needed.
Package manager installationon Ubuntu/Debian installs phpMyAdmin from the official repositories. This method suits production Linux servers where Apache and MySQL already run as system services.
Step 2: Install phpMyAdmin with XAMPP on Windows
XAMPP provides an integrated development stack that includes phpMyAdmin pre-configured with Apache HTTP Server and MySQL.
Download and Run the XAMPP Installer
Visit the Apache Friends download page. Download the latest XAMPP version for Windows (64-bit recommended). The download includes Apache, MySQL, PHP, and phpMyAdmin.
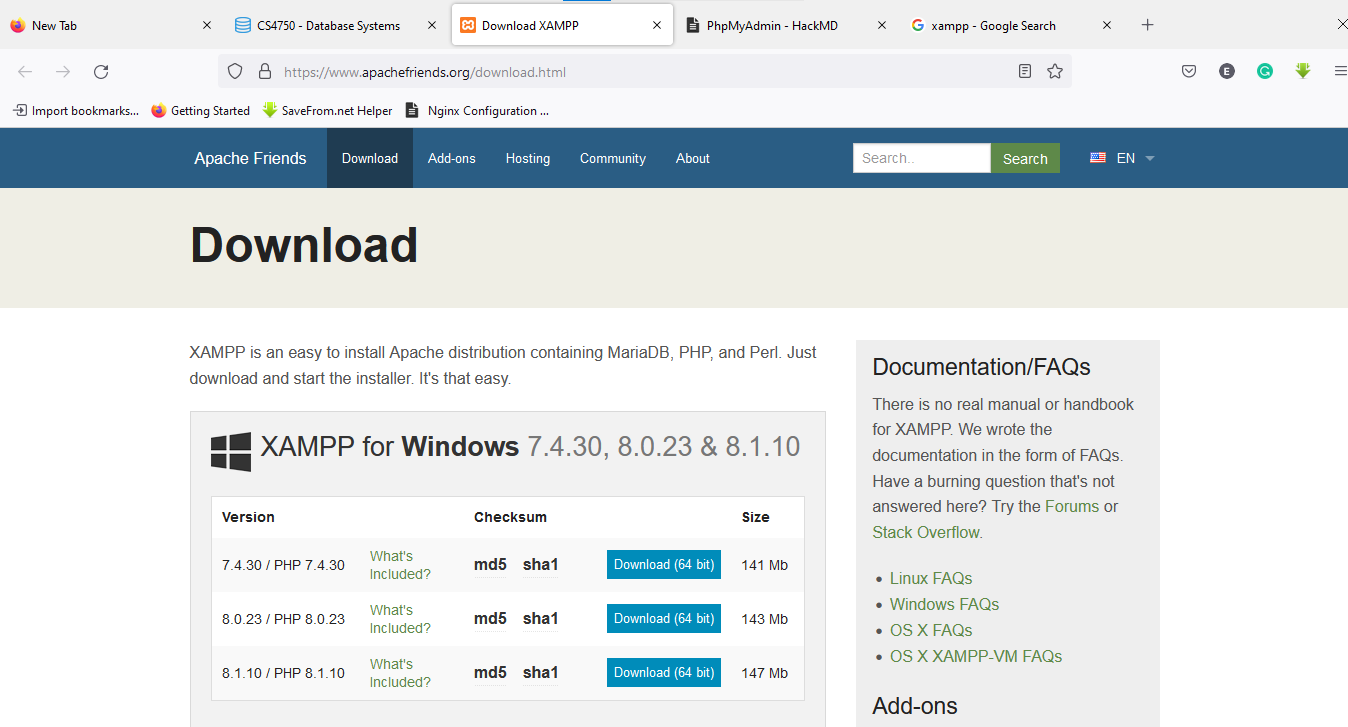 XAMPP download page offering versions for different operating systems
Run the downloaded installer (for example,
xampp-windows-x64-8.2.12-installer.exe). Click
Nexton the welcome screen.
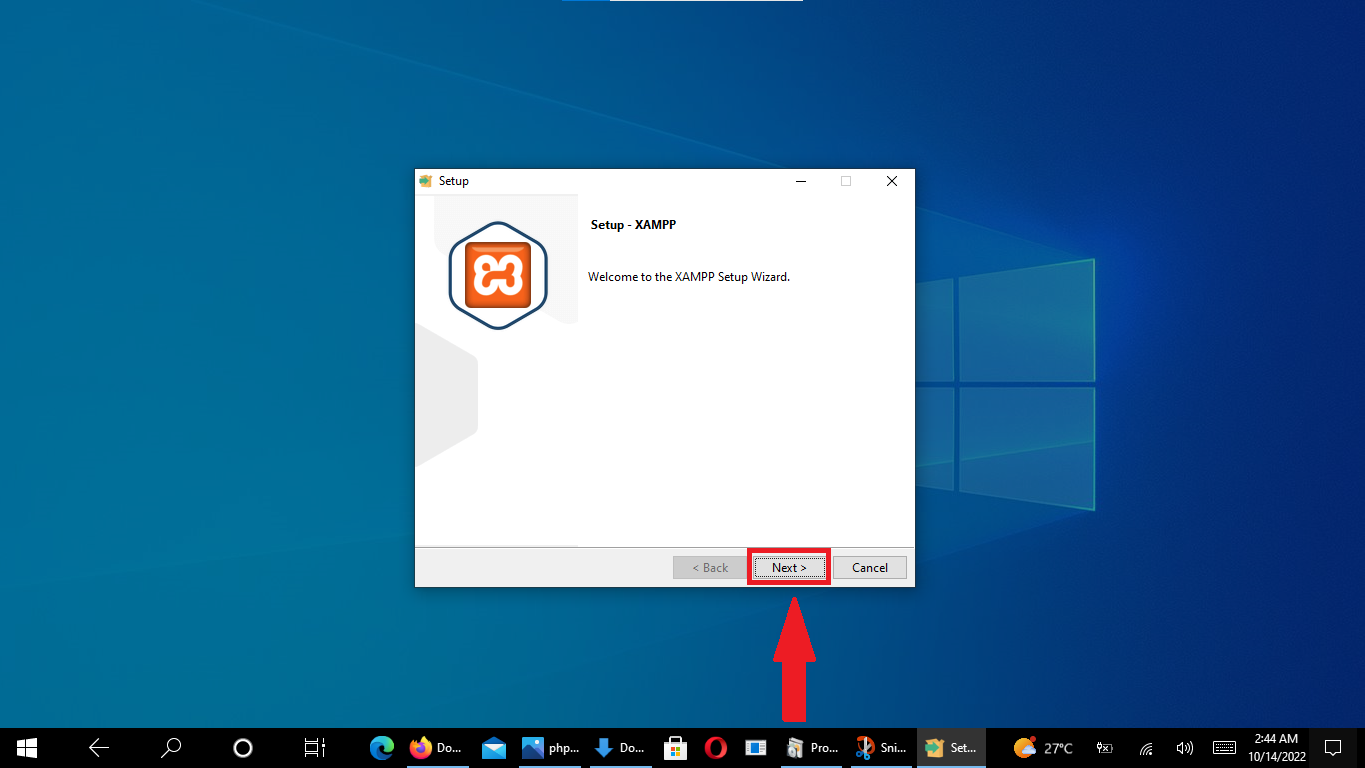 XAMPP installation wizard welcome screen
Select Components and Installation Directory
Select the components to install. Ensure MySQLand phpMyAdminare checked. Apache and PHP are required dependencies and should remain selected.
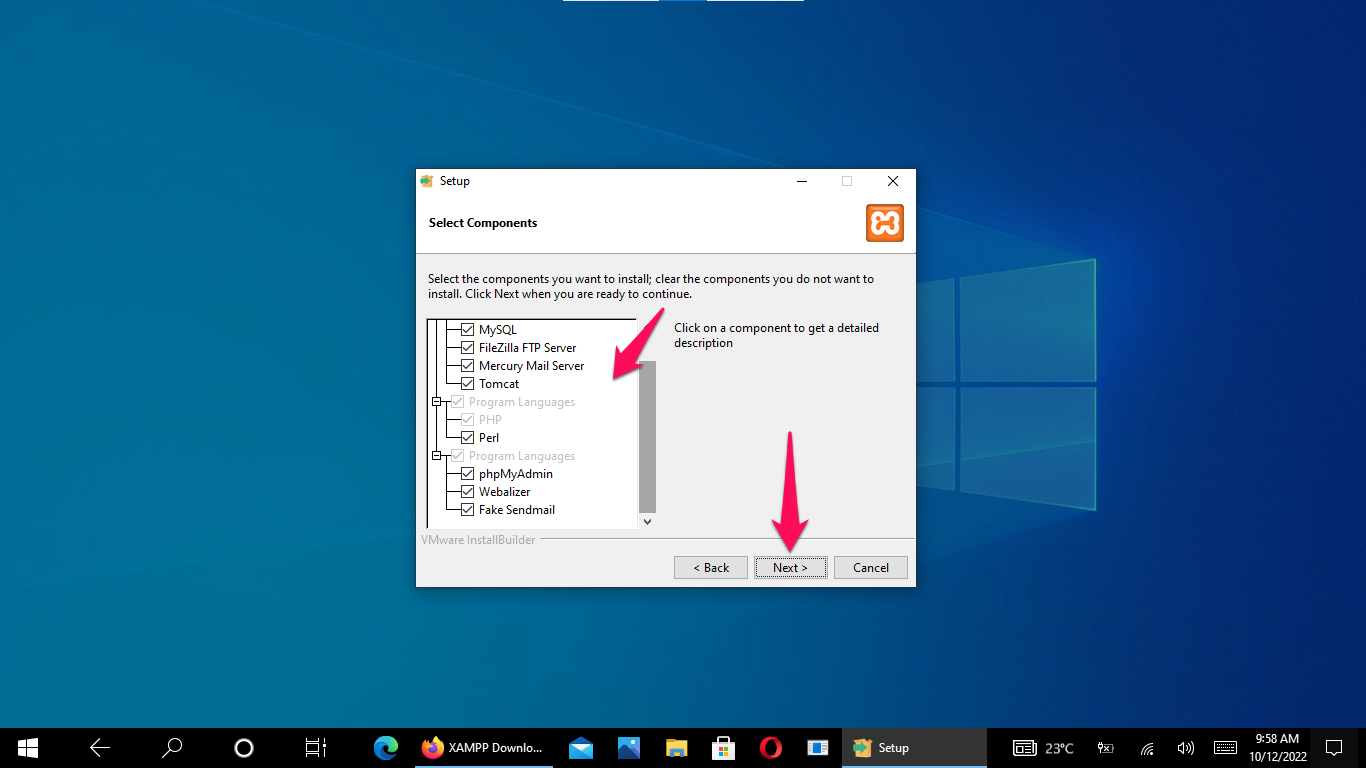 Component selection during XAMPP installation
Choose the installation directory. The default
C:\xampp works for most setups.
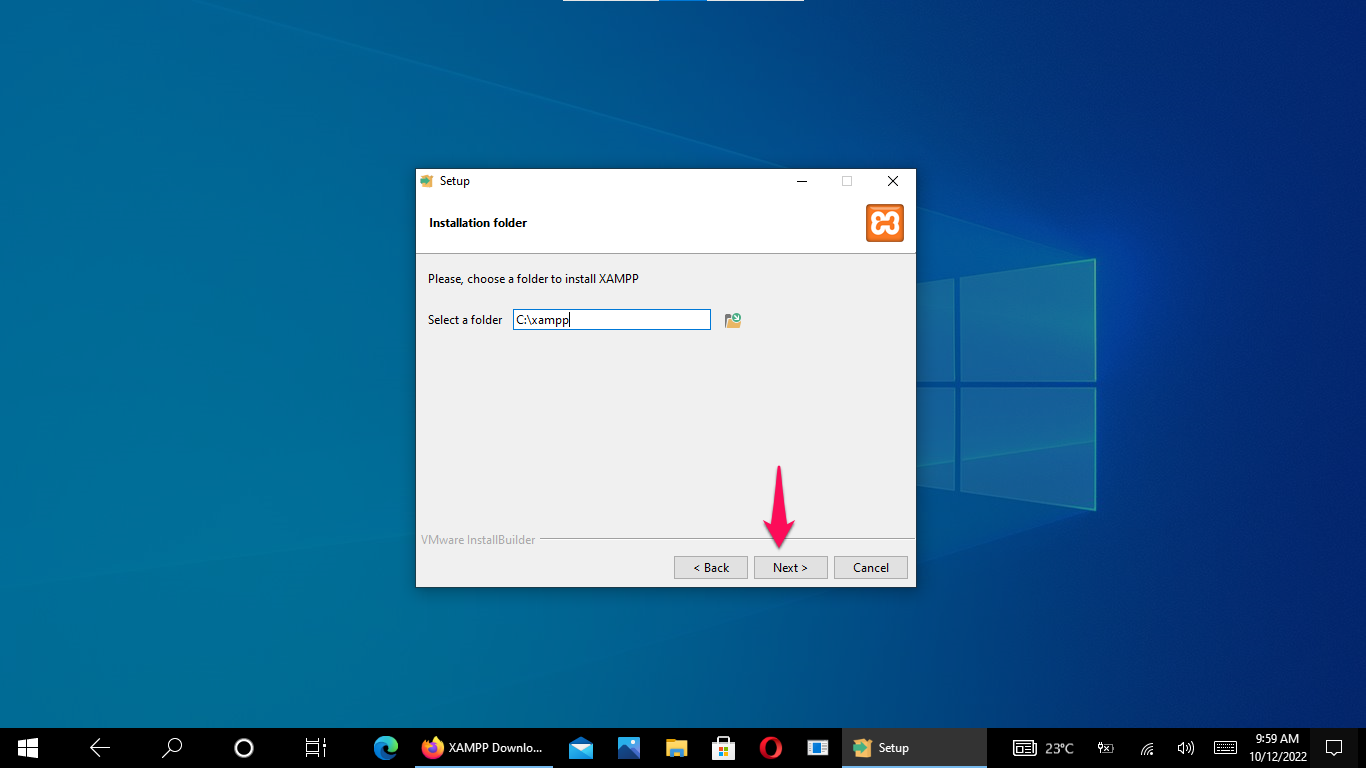 Selecting installation directory for XAMPP
Select the language and click Nextto begin installation.
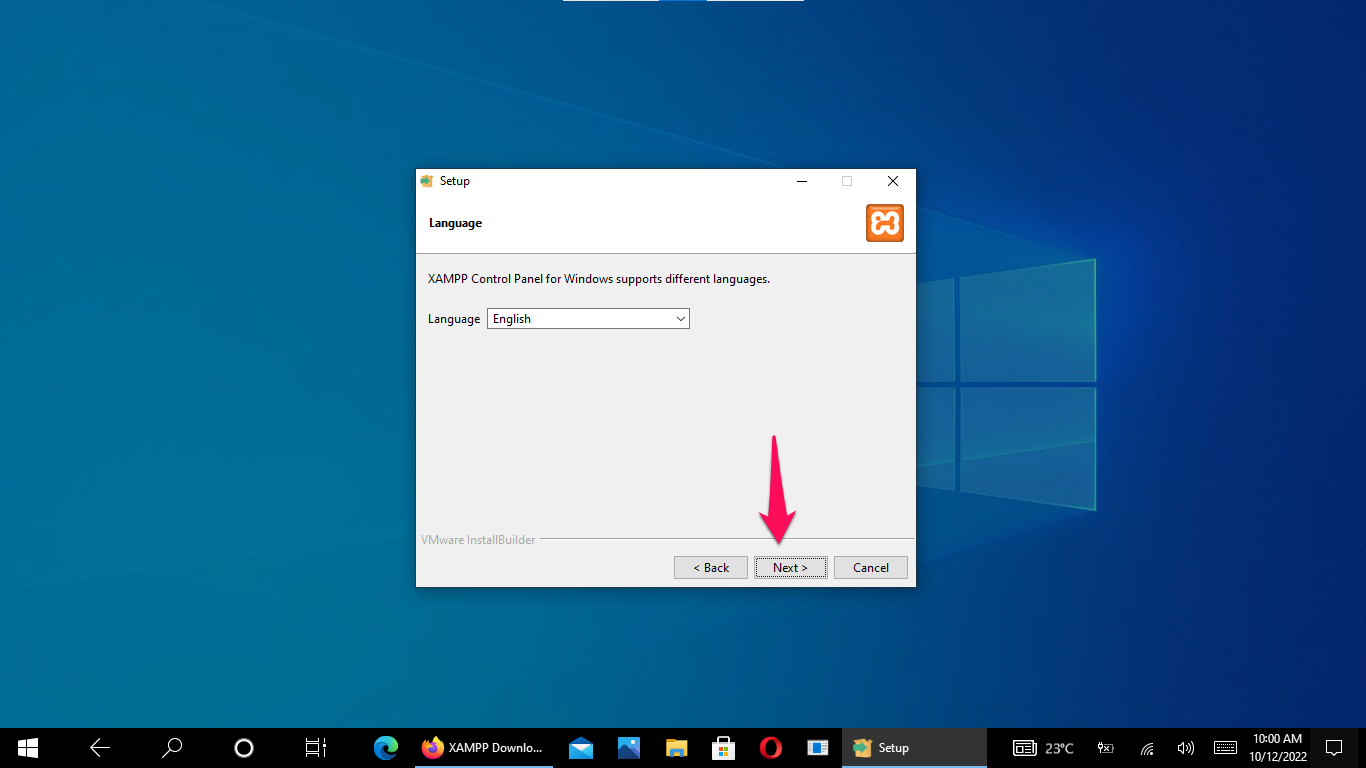 Language selection screen
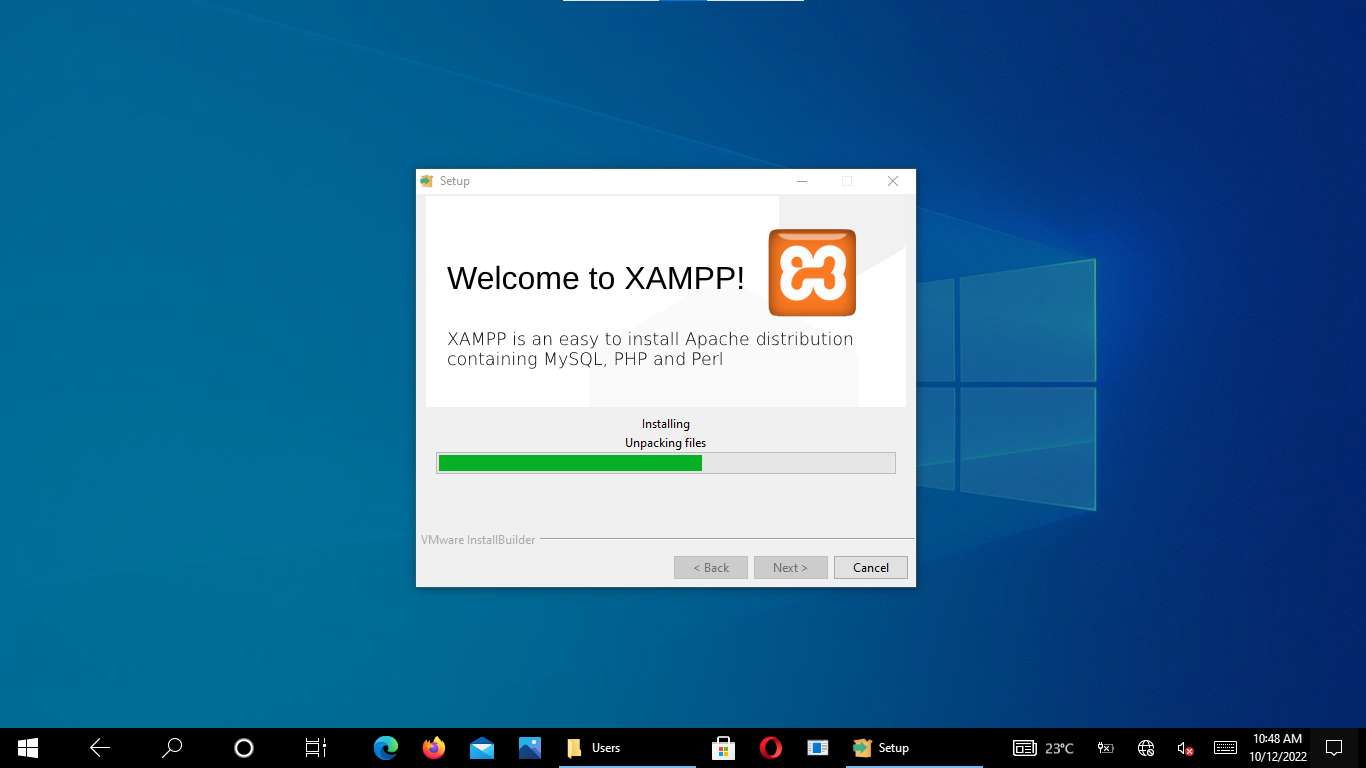 Ready to install confirmation screen
Start Apache and MySQL Services
Open the XAMPP Control Panel after installation completes. Click Startnext to Apache and Startnext to MySQL. Both services should show green "Running" status.
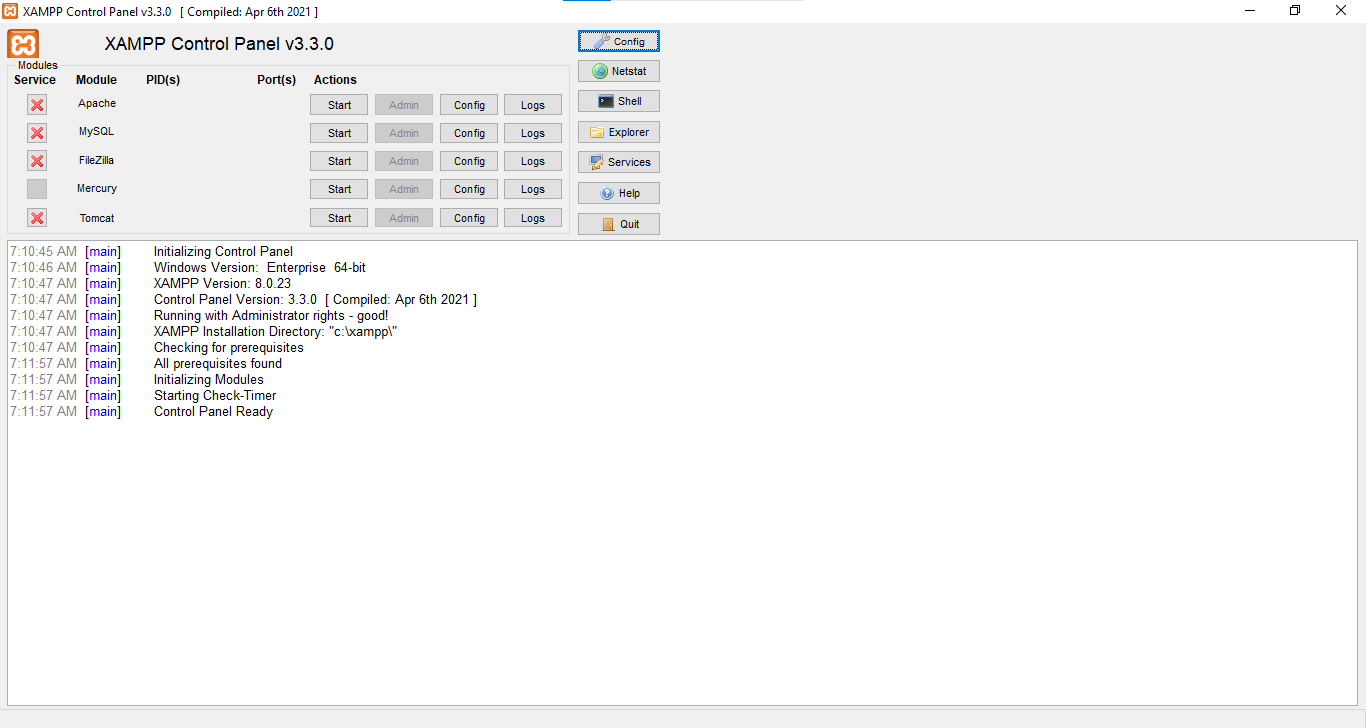 XAMPP Control Panel showing available services
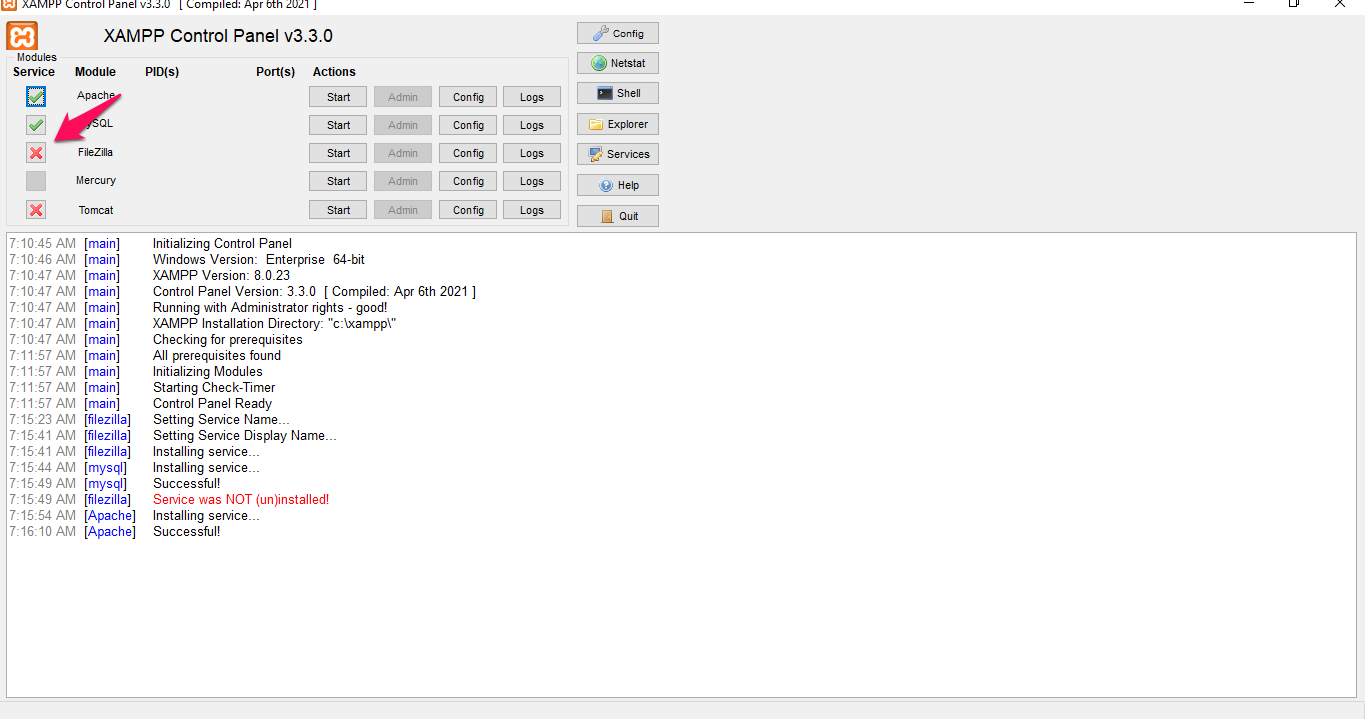 XAMPP Control Panel with Apache and MySQL services running
Open phpMyAdmin in the Browser
Navigate to
http://localhost/phpmyadmin in a web browser. XAMPP configures phpMyAdmin with the MySQL root account and no password by default. The phpMyAdmin dashboard loads without a login prompt because the default authentication type is
config.
Secure the XAMPP phpMyAdmin Installation
phpMyAdmin on XAMPP ships with no root password and
config-based authentication, which means anyone with network access to the machine can access the database. Set a root password immediately after installation.
Open the XAMPP Shell from the Control Panel and run:
mysql -u root
ALTER USER 'root'@'localhost' IDENTIFIED BY 'your_strong_password';
FLUSH PRIVILEGES;
EXIT;
Edit
C:\xampp\phpMyAdmin\config.inc.php and switch from
config to
cookie authentication so phpMyAdmin prompts for credentials on each login:
$cfg['Servers'][$i]['auth_type'] = 'cookie';
$cfg['Servers'][$i]['user'] = '';
$cfg['Servers'][$i]['password'] = '';
Restart Apache from the XAMPP Control Panel. phpMyAdmin now requires a username and password to log in.
Step 3: Install phpMyAdmin with Docker
Docker runs phpMyAdmin as a container that connects to a MySQL server on the same Docker network. This method avoids installing PHP or Apache on the host machine.
Pull and Run the phpMyAdmin Docker Container
Pull the official phpMyAdmin image from Docker Hub:
docker pull phpmyadmin/phpmyadmin:latestRun the container with the arbitrary server option enabled. This allows connecting to any MySQL server by entering the host address on the login screen:
docker run --name myphpmyadmin -d \
  -e PMA_ARBITRARY=1 \
  -p 8080:80 \
phpmyadmin/phpmyadmin| Flag | Purpose |
|---|---|
--name myphpmyadmin | Assigns a name to the container for easy management |
-d | Runs the container in detached (background) mode |
-e PMA_ARBITRARY=1 | Allows phpMyAdmin to connect to any MySQL host entered at login |
-p 8080:80 | Maps host port 8080 to the container's port 80 |
Open
http://localhost:8080 in a browser. Enter the MySQL server address (use
host.docker.internal for a MySQL server running on the host machine), username, and password.
Run phpMyAdmin and MySQL Together with Docker Compose
Docker Compose creates both MySQL and phpMyAdmin containers with automatic networking. Create a
docker-compose.yml file:
version: '3.8'

services:
  db:
    image: mysql:8.0
    container_name: mysql_database
    restart: always
    environment:
      MYSQL_ROOT_PASSWORD: rootpassword
      MYSQL_DATABASE: myapp_db
      MYSQL_USER: myapp_user
      MYSQL_PASSWORD: myapp_pass
    ports:
      - "3306:3306"
    volumes:
      - mysql_data:/var/lib/mysql
    networks:
      - backend

  phpmyadmin:
    image: phpmyadmin:latest
    container_name: phpmyadmin_interface
    restart: always
    environment:
      PMA_HOST: db
      PMA_PORT: 3306
      PMA_USER: root
      PMA_PASSWORD: rootpassword
      UPLOAD_LIMIT: 128M
    ports:
      - "8080:80"
    depends_on:
      - db
    networks:
      - backend
    volumes:
      - /sessions

volumes:
  mysql_data:

networks:
  backend:
phpMyAdmin's
PMA_HOST: db directive points to the MySQL container by its Docker Compose service name. Docker resolves this name to the MySQL container's internal IP address automatically.
Start both containers:
docker-compose up -dOpen
http://localhost:8080 in a browser. phpMyAdmin connects to the MySQL container using the credentials defined in the environment variables.
Manage phpMyAdmin Docker Containers
# List running containers
docker ps

# Stop the phpMyAdmin container
docker stop myphpmyadmin

# Start the phpMyAdmin container
docker start myphpmyadmin

# View container logs
docker logs myphpmyadmin

# Stop the Docker Compose stack
docker-compose down

# Stop and remove all volumes (deletes database data)
docker-compose down -v
Step 4: Install phpMyAdmin on Ubuntu/Debian Linux
phpMyAdmin installs from the official Ubuntu/Debian repositories. This method requires Apache HTTP Server and MySQL/MariaDB to be installed first.
Install Apache, MySQL, and PHP Prerequisites
Update the package index and install the required components:
sudo apt update
sudo apt upgrade
Install Apache HTTP Server:
sudo apt install apache2Install MySQL Server:
sudo apt install mysql-serverInstall PHP and the extensions phpMyAdmin requires:
sudo apt install php php-mysqli php-mbstring php-zip php-gd php-json php-curlSecure the MySQL Installation
Run the MySQL security script to set a root password, remove anonymous users, disable remote root login, and drop the test database:
sudo mysql_secure_installationFollow the prompts. Answer Yesto each security question for a production-ready configuration.
Install phpMyAdmin from the Package Manager
sudo apt install phpmyadminThe installer prompts for three choices:
- Web server selection:Choose
apache2. - Database configuration:Choose
Yesto configure the phpMyAdmin database with
dbconfig-common. - Application password:Enter a password for the phpMyAdmin MySQL user.
Enable the PHP
mbstring extension that phpMyAdmin requires for multi-byte string handling:
sudo phpenmod mbstring
sudo systemctl restart apache2
Open phpMyAdmin on the Linux Server
Navigate to
http://{YOUR_SERVER_IP}/phpmyadmin or
http://localhost/phpmyadmin in a browser. Log in with the MySQL root credentials set during
mysql_secure_installation.
Secure the Linux phpMyAdmin Installation
Apply the security hardening steps from phpMyAdmin best practices:
- Change the default
/phpmyadminURL alias to a custom path. - Restrict access by IP address in the Apache configuration.
- Add HTTP Basic Authentication as a second login layer.
- Enable HTTPS with a TLS certificate.
What You Learned
This tutorial covered three methods for installing phpMyAdmin. XAMPP provides a bundled installation for Windows and macOS development. Docker runs phpMyAdmin as an isolated container with configurable MySQL connectivity through environment variables. Ubuntu/Debian package installation integrates phpMyAdmin with the system's Apache and MySQL services.
Each method produces a working phpMyAdmin instance that connects to a MySQL or MariaDB server through the
config.inc.php configuration file. Cookie-based authentication provides the most secure login method for any installation type.
What to Do Next
Create databases and tables through the phpMyAdmin interface. See the phpMyAdmin database management tutorialfor step-by-step instructions.
Harden the installation against unauthorized access. See phpMyAdmin best practicesfor security recommendations.